How to Use Heat Shrink Tubing for Electrical Repairs

You use heat shrink tubing by sliding it over your electrical repair and heating it until it tightly seals the wires. This method keeps your work simple and safe. Heat shrink tubing gives you flexible, water-tight protection that seals out moisture and blocks corrosion. You also get strong electrical insulation and a barrier against vibration, chemicals, and UV light.
Tip: Choosing the right tubing and applying it the right way helps your repair last longer and stay safe. If you want to master this process, check out The Complete Guide to Heat-Shrink Tubing.
Key Takeaways
Heat shrink tubing provides strong insulation and protects wires from moisture, dust, and chemicals.
Choose the right size tubing by measuring the wire diameter and selecting tubing 20-30% larger before shrinking.
Use a heat gun for even heating to ensure the tubing shrinks tightly around the wires without burning.
Inspect your repair for uniform shrinkage and a tight seal to keep out moisture and dirt.
Avoid common mistakes like using the wrong size tubing or overheating, which can weaken your repair.
The Complete Guide to Heat-Shrink Tubing
What Is Heat Shrink Tubing
You might wonder what heat shrink tubing actually is. It’s a flexible plastic tube that shrinks when you heat it. You slide it over wires or connections, then use a heat gun or even a hair dryer to make it fit tightly. The Complete Guide to Heat-Shrink Tubing shows you that this tubing comes in different materials, each with its own strengths. Check out this table to see the most common types:
Material | Properties |
|---|---|
Polyolefin | Handles high heat (up to 135°C); great for tough jobs. |
Adhesive-Lined Polyolefin | Has glue inside; seals out moisture for extra protection. |
PVC | Works at lower temperatures; affordable and strong for basic repairs. |
Other materials | Includes silicone rubber, PTFE, and elastomers; used for special projects. |
You can find heat shrink tubing in many sizes and colors. Some types even have labels or extra features to help you organize wires. The Complete Guide to Heat-Shrink Tubing explains how these choices make your repairs easier and safer.
Why Use Heat Shrink Tubing
You get lots of benefits when you use heat shrink tubing. It’s not just about covering wires. Here’s what you gain:
Insulation keeps your wires safe from shorts and shocks.
Environmental protection shields your repairs from dust, moisture, and scratches.
Strain relief lets wires bend without breaking.
Waterproofing stops water and chemicals from causing corrosion.
Organization and identification help you sort and label wires.
You can use heat shrink tubing in cars, homes, and factories. It protects wiring harnesses, insulates solder joints, and bundles cables.
The Complete Guide to Heat-Shrink Tubing also shows you why tubing beats electrical tape. Tubing lasts longer, handles heat better, and gives a cleaner look. You get stronger insulation and a more secure fit. If you want your repairs to look professional and stay safe, heat shrink tubing is the way to go.
Choosing the Right Tubing
Sizing and Fit
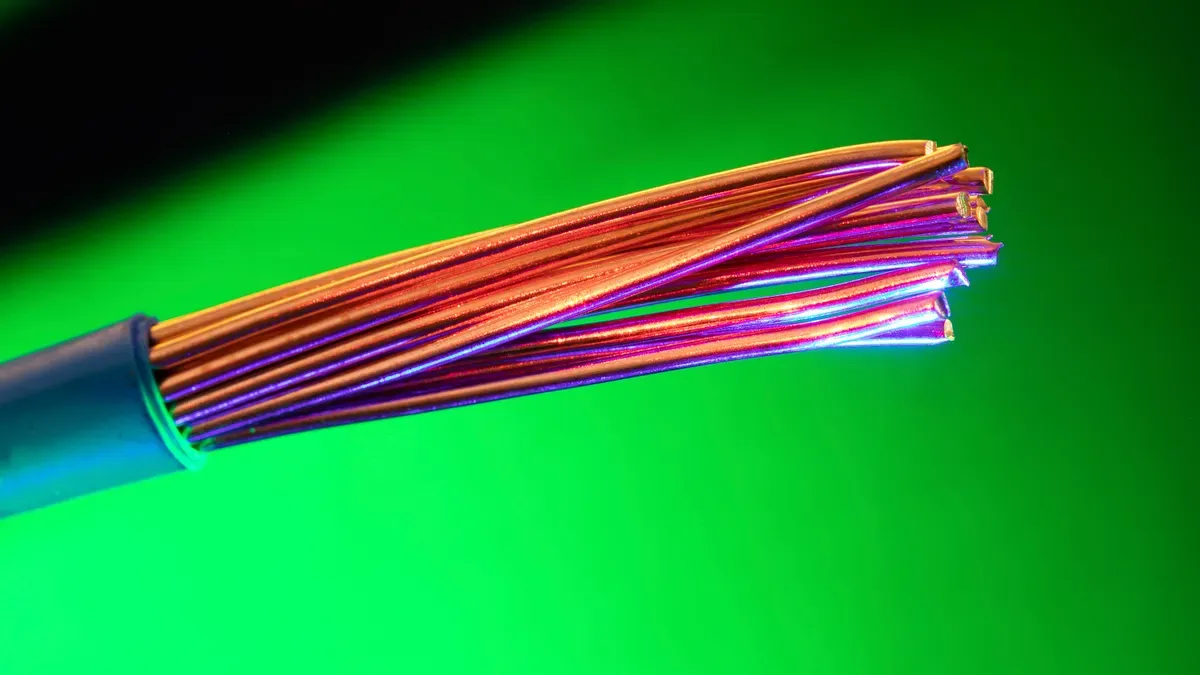
You want your heat shrink tubing to fit just right. Start by measuring the diameter of the wire or connection you need to cover. Pick tubing that is slightly larger than the wire before shrinking. Most people find that tubing about 20-30% bigger than the wire works best. Always cut your tubing about 1/4 inch longer than the repair area. This gives you full coverage after shrinking. Remember, tubing shrinks by 5-15%, so plan for that. If you choose tubing that is too loose, it will not seal well. If it is too tight, you might not get it over the wire at all.
Tip: A snug fit gives you better insulation and keeps out moisture and dirt.
Material and Shrink Ratio
Not all heat shrink tubing is the same. You can find tubing made from polyolefin, PVC, or even special materials for tough jobs. The shrink ratio tells you how much the tubing will shrink. For example, a 2:1 ratio means the tubing will shrink to half its original size. If you need to cover odd shapes or connectors, look for a higher shrink ratio like 3:1 or 4:1.
Some tubing comes with extra features:
Adhesive lining melts and flows when heated. This creates a water-tight seal and adds strength. It works great for cars, boats, or outdoor repairs.
UV resistance protects wires from sunlight and weather. Use this for outdoor or exposed wiring.
Tubing with adhesive lining also blocks oils, chemicals, and other contaminants. It keeps your connections safe, even underground.
Color and Features
You can find heat shrink tubing in many colors. Use different colors to organize wires or mark connections. Some tubing has labels you can write on. Others have special coatings for extra protection. The Complete Guide to Heat-Shrink Tubing can help you pick the right tubing for your project. Choose features that match your needs, like water-tight seals for wet places or UV resistance for outdoor jobs.
How to Use Heat Shrink Tubing
Prepare the Wires
You want your repair to last, so start by getting your wires ready. Clean the wire and remove any dirt or debris. If you need to expose the conductor, cut and strip the ends of the wire. Make sure you don’t damage the strands inside. Usually, you strip about 5/16 inches of insulation. This gives you enough room to make a strong connection. If you see frayed or broken wires, trim them so you have a neat edge.
Tip: Clean wires help the tubing stick better and give you a safer repair.
Cut and Position the Tubing
Grab a sharp pair of scissors or a razor blade. Cut the heat shrink tubing so it’s about half an inch longer than the area you want to cover. This extra length helps you get full coverage and a tight seal. You want a clean, straight cut—frayed edges can cause problems later.
Use scissors, a razor blade, or a tubing cutter for best results.
Make sure the tubing is slightly larger than the wire or connector.
Slide the tubing over one end of the wire before you make the connection. Keep it away from the repair area so it doesn’t shrink too soon.
Make the Connection
Now it’s time to join the wires. Insert the stripped wire fully into the terminal barrel. Use a crimping tool to squeeze the terminal and create a strong bond. If you’re soldering, twist the wires together and apply solder for a solid connection. You want the connection to be tight and secure. Loose wires can cause shorts or failures.
Note: The Complete Guide to Heat-Shrink Tubing recommends checking your connection before you move the tubing into place.
Apply Heat Evenly
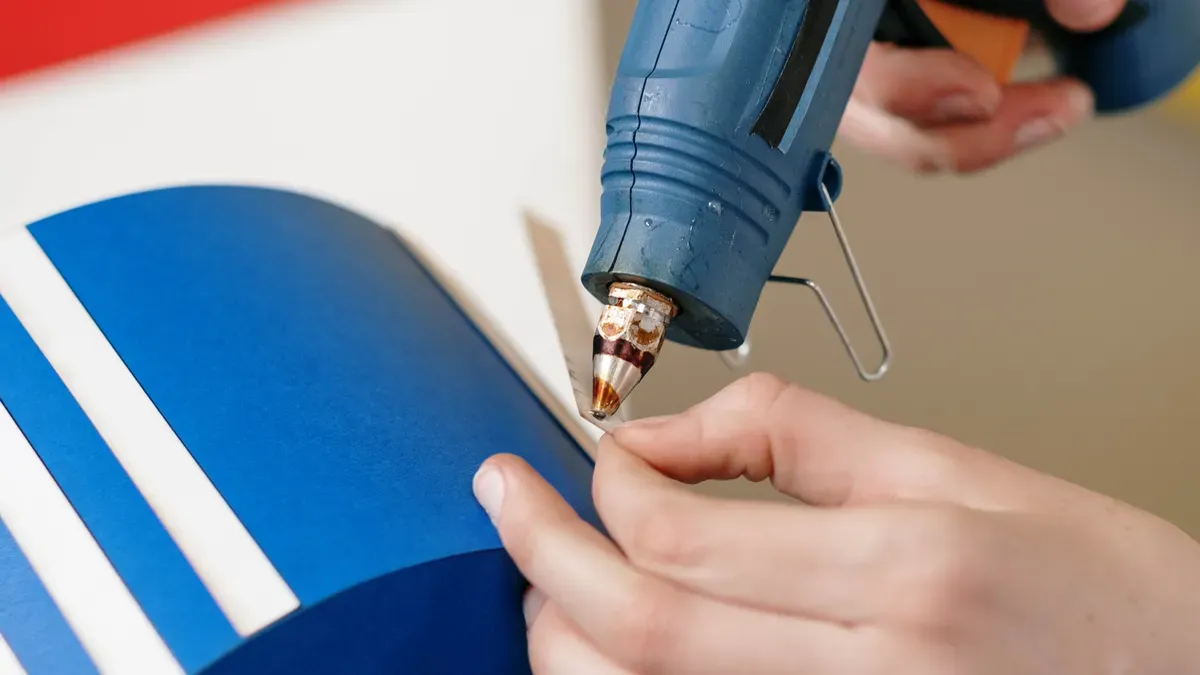
Slide the tubing over the repaired area. Center it so it covers the whole connection and extends a bit on both sides. Pick your heat source. A heat gun works best because it gives you steady, controlled heat. You can use a hair dryer or soldering iron if you don’t have a heat gun, but they might not shrink the tubing as evenly.
Hold the heat gun about two inches from the tubing.
Move the heat gun slowly around the tubing. Start in the middle and work toward the ends.
Watch the tubing shrink and wrap tightly around the wire.
Avoid overheating. Too much heat can damage the wire or tubing.
Tip: Even heating prevents air bubbles and gives you a smooth, professional finish.
Inspect the Repair
After the tubing shrinks, check your work. Look for uniform shrinkage along the entire length. The tubing should hug the wire with no gaps or openings. You want a tight seal that keeps out moisture and dirt. If you see any loose spots, heat them again for a few seconds.
Here’s a quick table to help you inspect your repair:
Inspection Criteria | Description |
|---|---|
Shrinkage Uniformity | Check if the shrinkage is uniform along the entire length of the tube. |
Seal Quality | Look for a tight seal around the object with no gaps or openings. |
If you need extra insulation, wrap the area with electrical tape. You’re done! Your repair is safe, neat, and ready for action.
Callout: Following these steps from The Complete Guide to Heat-Shrink Tubing helps you get a durable, professional result every time.
Tips for Best Results
Avoid Common Mistakes
You want your repair to last, so watch out for these common mistakes. Many people run into trouble because they rush or skip steps. Here are some things you should avoid:
Picking the wrong tubing size. If the tubing is too big or too small, it will not seal well.
Heating the tubing unevenly. This can leave gaps or make the tubing look lumpy.
Using too much heat. Overheating can burn or weaken the tubing.
Not cleaning the wire first. Dirt and oil stop the tubing from sticking.
Forgetting to seal both ends of adhesive-lined tubing. This leaves your repair open to moisture.
Using the wrong tool. A heat gun works best, but a lighter or hair dryer can work for small jobs.
Tip: Take your time and double-check each step. You will get a stronger, safer repair.
Safety Precautions
Working with heat means you need to stay safe. Always set up your workspace before you start. Here are some safety tips:
Work near an open window or in a well-ventilated area. This helps clear away any fumes.
Do not lean over the wire while heating. You want to avoid breathing in any vapors.
Remove anything flammable from your work area.
Keep the heat source moving. This stops the tubing from burning.
Watch the tubing as you heat it. If you see smoke or the tubing changes color, pull the heat away right away.
Note: Safety comes first. A careful setup keeps you and your project safe.
Achieve a Professional Finish
You can make your repair look and work like a pro did it. Try these expert tips:
Pick the right size tubing. Use about 75% of the shrink potential for a snug fit.
Do not overheat. Too much heat can ruin the tubing.
Rotate the heat source as you work. This gives you even shrinkage all around.
Store your tubing in a cool, dry place. This keeps it fresh and ready to use.
Use a heat gun for larger tubes. It gives you better control.
Here are some key factors that help your repair last:
Factor | Description |
|---|---|
Material Quality | Good tubing stands up to heat, moisture, and chemicals. |
Manufacturing Consistency | Even wall thickness means better performance. |
Environmental Resilience | Tubing should not crack or break in tough conditions. |
Dielectric Strength | Strong insulation keeps your wires safe for a long time. |
Callout: When you follow these tips, your repairs will look neat and last longer. You will feel proud of your work!
You now know how to use heat shrink tubing for electrical repairs. When you pick the right size, cut it cleanly, and heat it evenly, your repair stays strong and neat. Heat shrink tubing gives you enhanced durability, better protection from moisture, and a reliable seal. You get a waterproof solution that beats electrical tape every time. Try these steps for your next project. You will see your repairs last longer and look professional.
FAQ
How do you choose the right size heat shrink tubing?
You measure the wire’s diameter. Pick tubing about 20-30% bigger before shrinking. Cut it a bit longer than your repair area. This gives you full coverage and a tight seal.
Can you use a lighter instead of a heat gun?
Yes, you can use a lighter for small jobs. Hold the flame near the tubing and keep it moving. Don’t let the tubing burn. A heat gun works better for bigger repairs.
Is heat shrink tubing waterproof?
Most tubing blocks water, but adhesive-lined tubing gives you the best waterproof seal. Use it for outdoor or wet repairs. Regular tubing helps protect against moisture, but it’s not fully waterproof.
What happens if you overheat the tubing?
If you use too much heat, the tubing can burn, crack, or lose strength. You want to move the heat source around and watch for signs of damage. Stop heating if you see smoke.
Can you remove heat shrink tubing after it shrinks?
You can cut it off with scissors or a razor blade. The tubing won’t slide off once it shrinks. Be careful not to damage the wire underneath.

© Copyright 2024 My First Blog - All Rights Reserved.